Tips for High Quality AI Fashion Photos
I ran one product through the FASHN Agent 100 times to find what makes the biggest difference.
 Tony Assi4 min read
Hi, I'm Tony. I'm a photographer and the Creative Engineer at FASHN. Before this I spent years in content and marketing for fashion brands.
One of the questions we get most is how to get better quality photos. So I took one product and ran it through the FASHN Agent 100 times. I changed one thing at a time: the photo I uploaded, the face and the words in my message. Here's what made the biggest difference.
How I Tested
I used one blazer for everything. It's a navy and cream houndstooth with gold buttons and cream piping. A busy pattern like that is easy to get wrong, so every mistake shows.
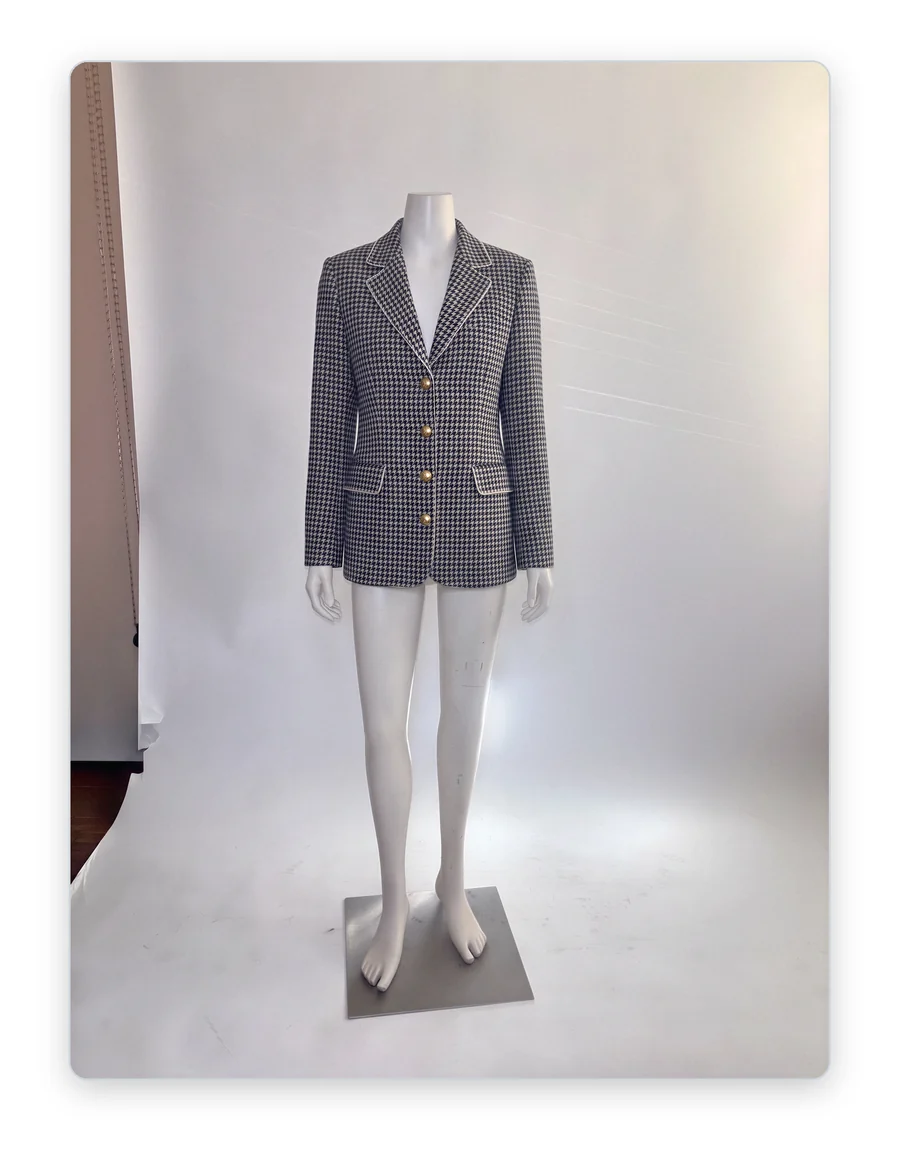
I ran each test in a new conversation at 2K and Balanced, except the tests about settings. The message stayed short:
Put this blazer on a model, buttoned. Full body photo.
Most tests ran two or three times, so one lucky result couldn't fool me. Then I compared every result to the real blazer.
1. The Size of Your Photo
Your product photo
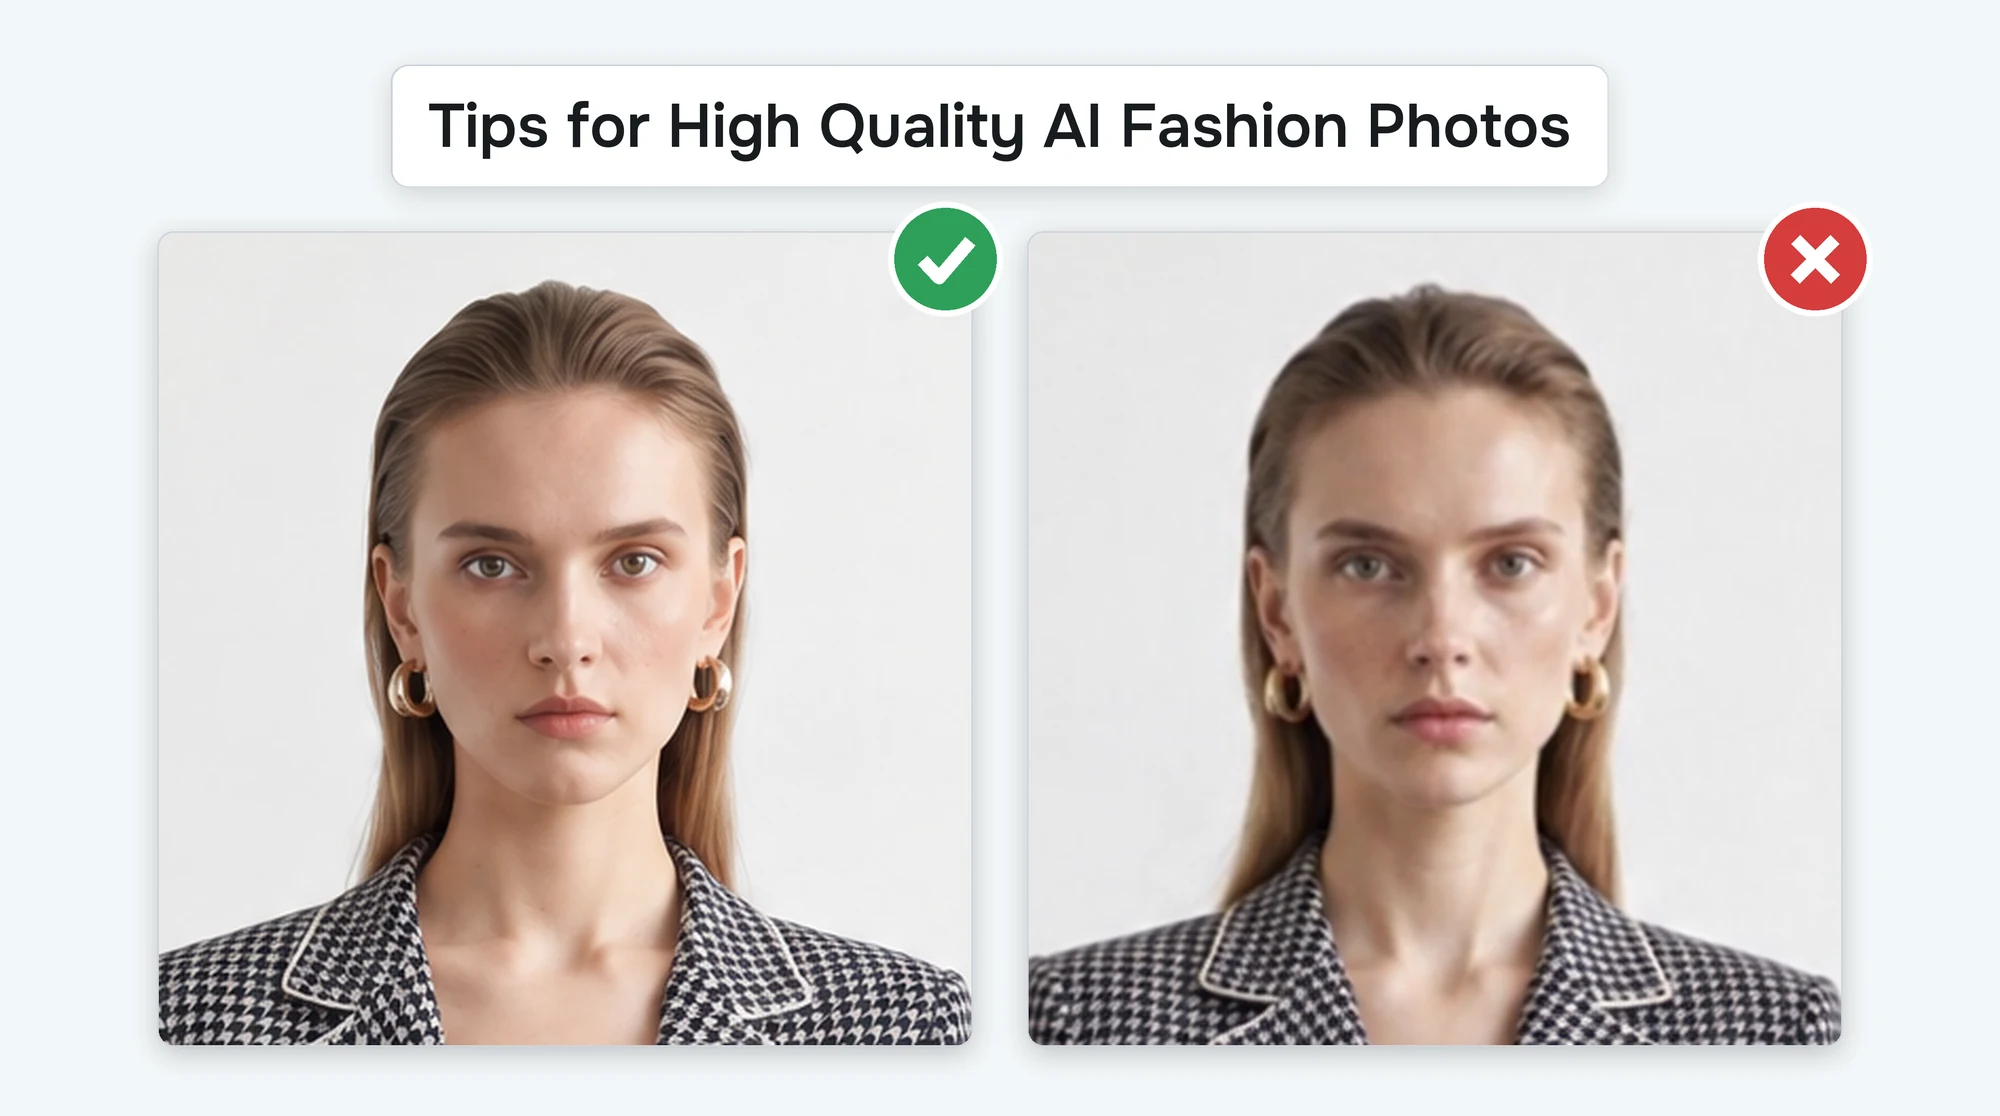
I expected a small photo to give me a blurry result. It didn't. It gave me a sharp photo of a different blazer.
I sent the Agent the same product photo twice, once at full size and once at 300 pixels tall. The full size photo came back as my blazer. The small one came back with a grey pinstripe, three buttons and grey piping. That happened in two of my three runs.
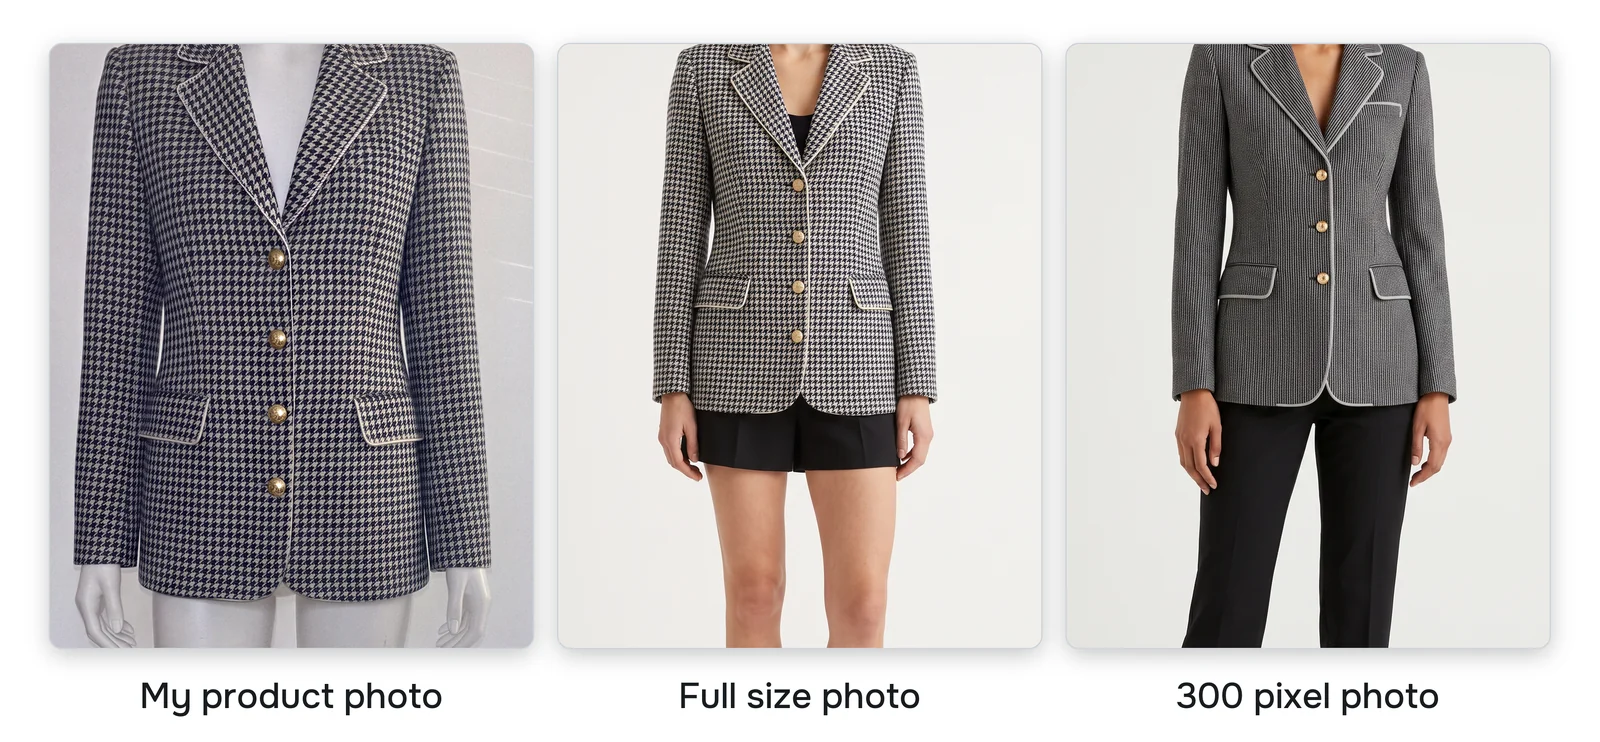
Here's why. The AI doesn't stretch your photo. It draws your product again. In a tiny photo the houndstooth is only a few pixels, so the AI fills in what it can't see. Patterns, stripes and buttons go first.
I used to shoot up to 140 products a week, and every photo had to match the product exactly. If it didn't, I heard about it from the design director. A blurry photo looks bad. A photo of the wrong product is worse. Someone buys the blazer in the picture and gets a different one in the mail.
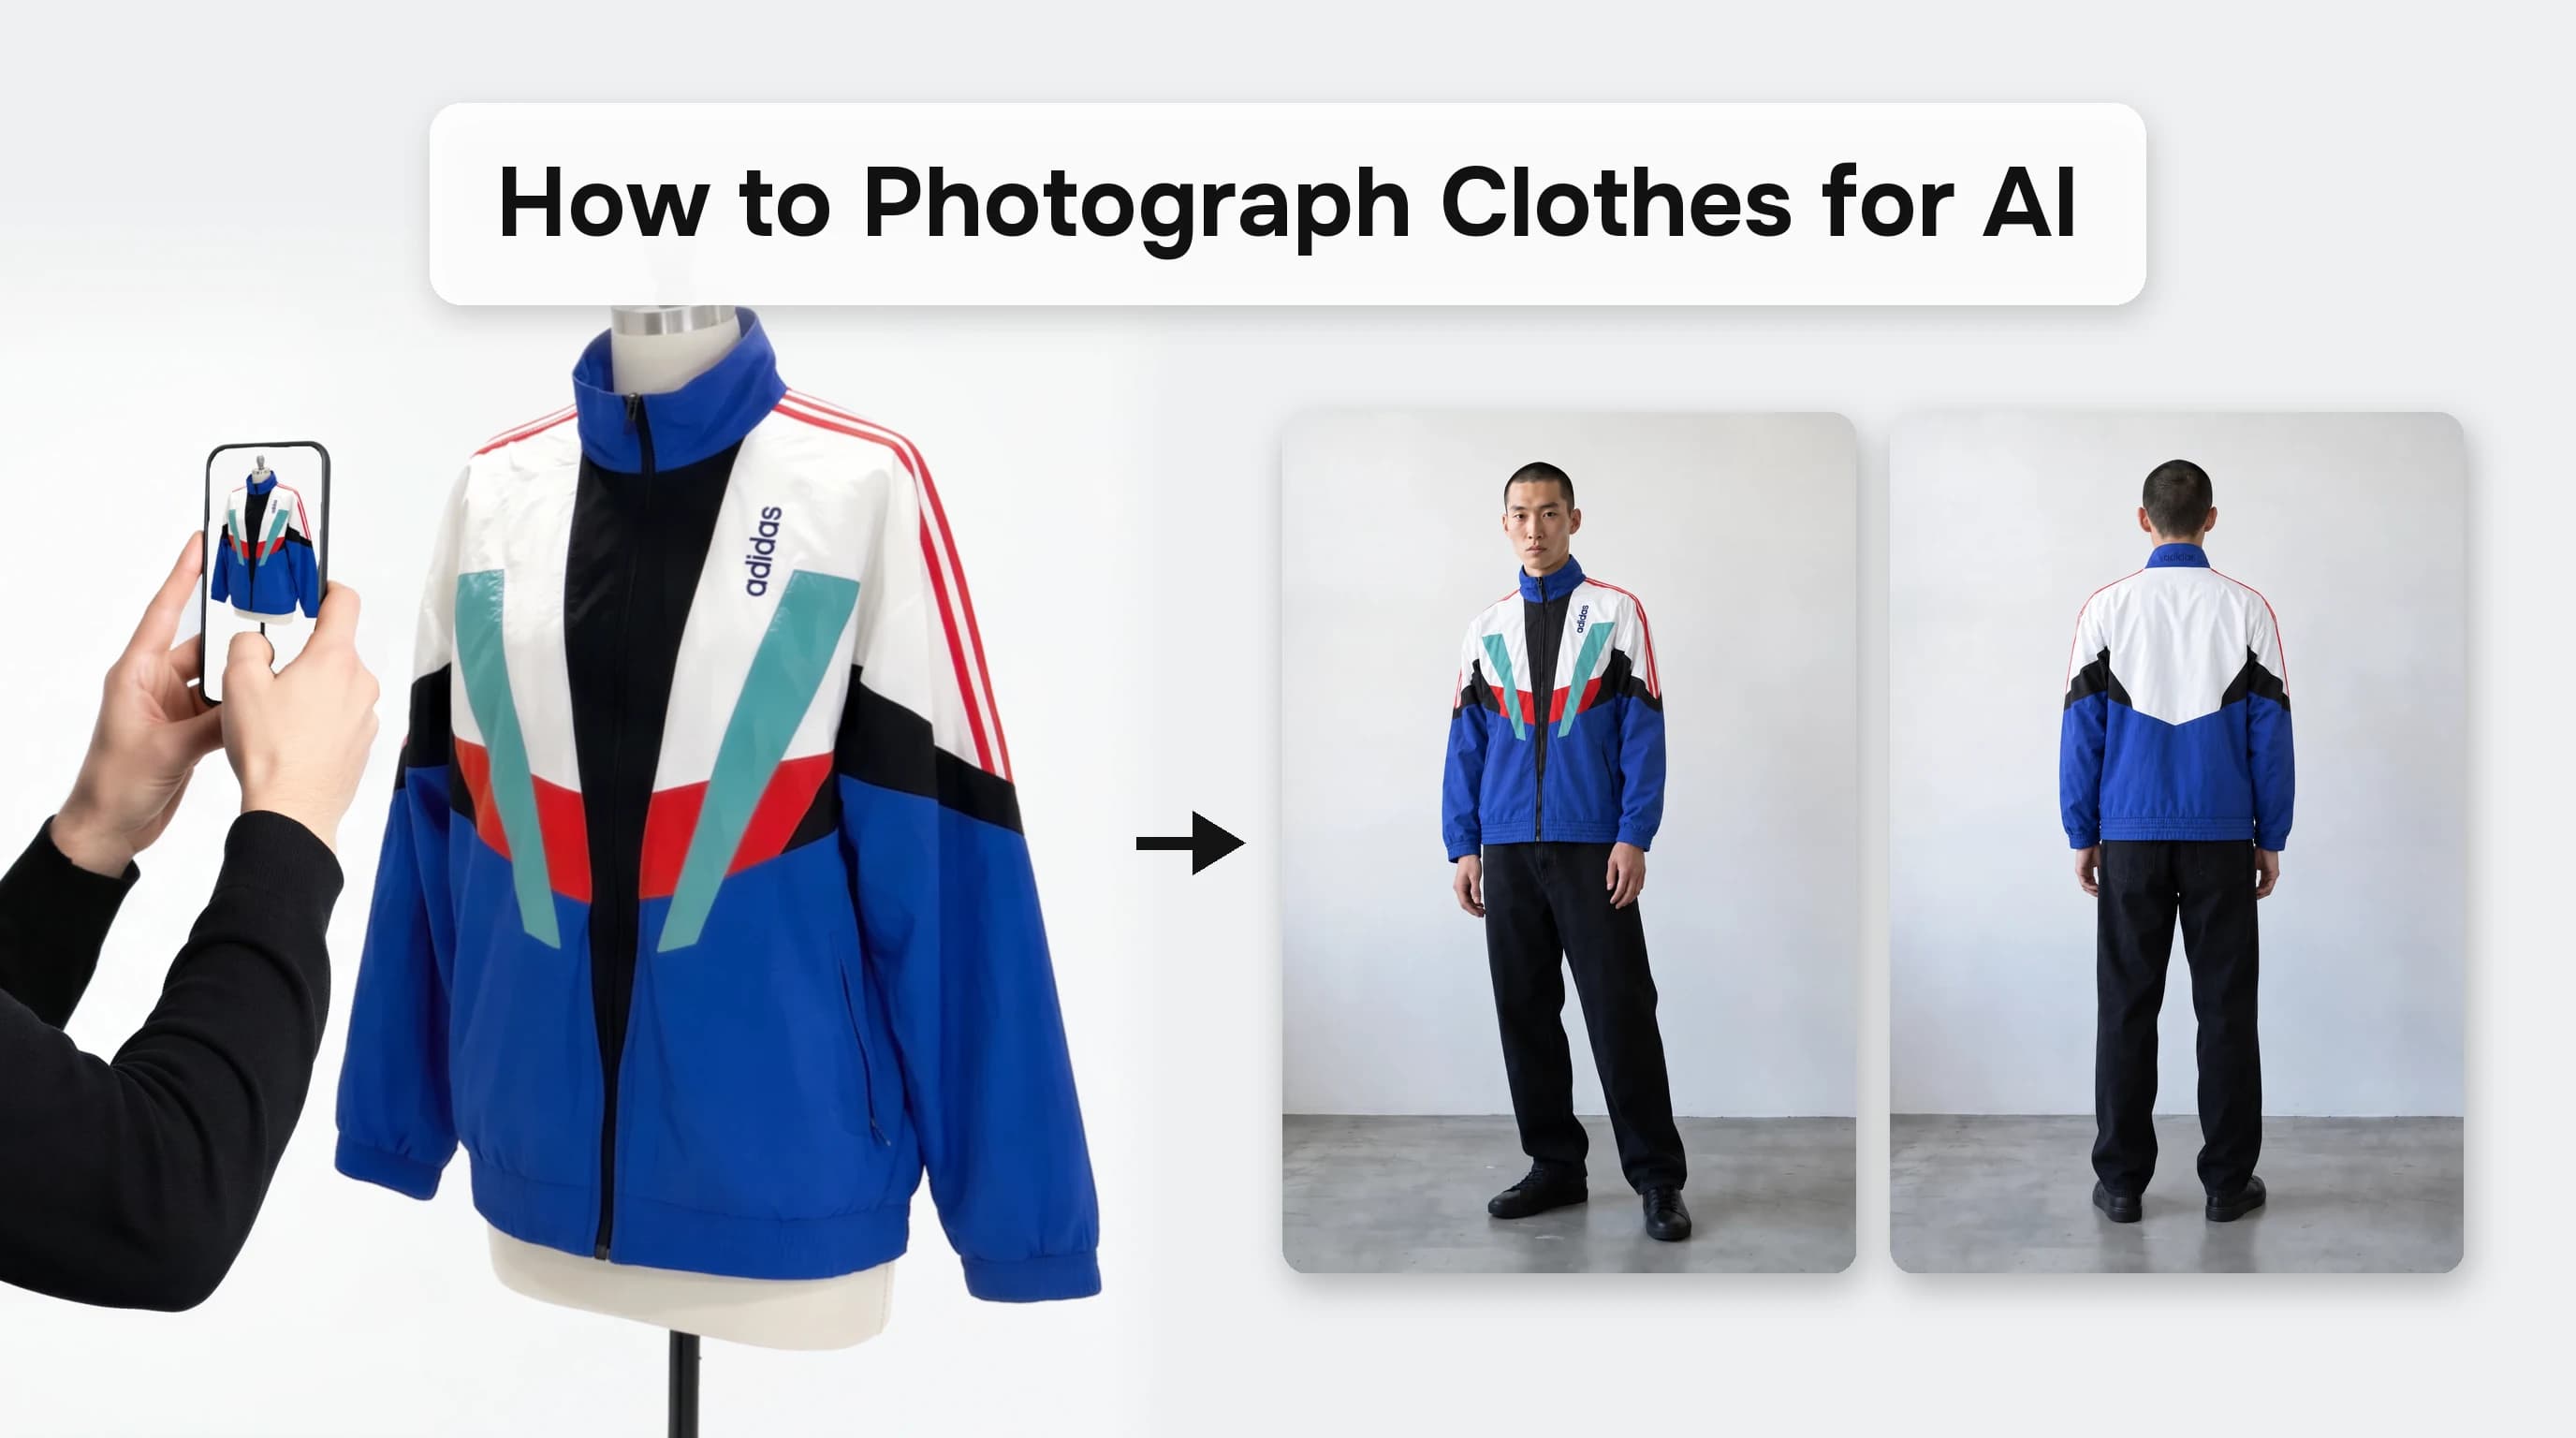
The tip: upload your biggest, sharpest product photo. Here's how I photograph clothes for AI.
Your model photo
A small model photo goes wrong in a different way. The AI keeps your model's face from your photo, so if her face is small she comes back soft and looks like someone else.
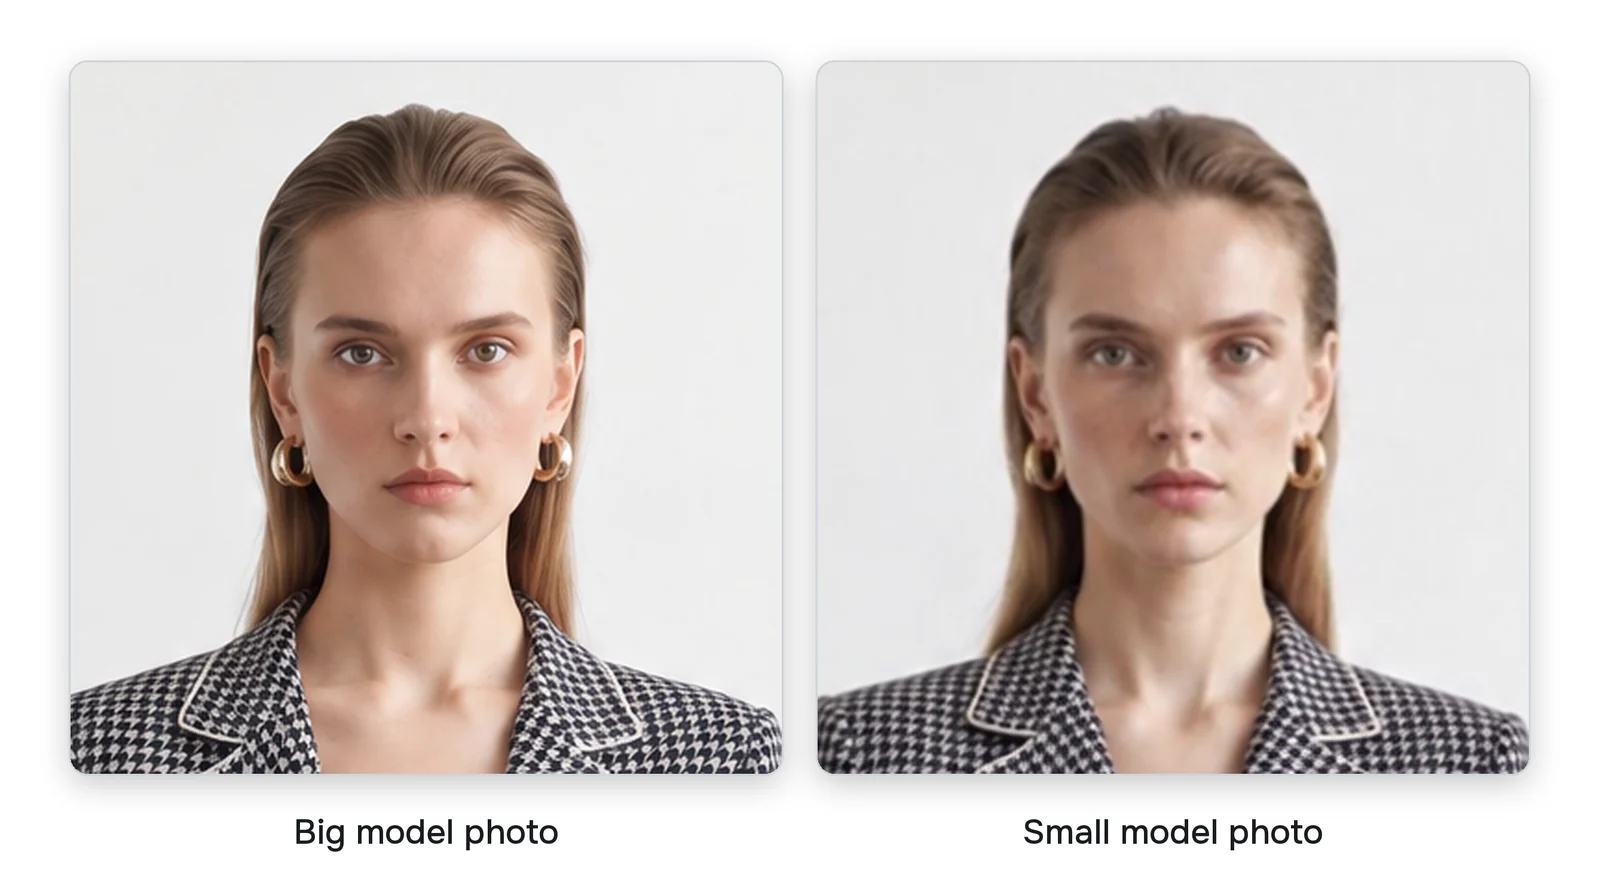
What matters is the pixels on her face, not the size of the photo. A photo can be 1,000 pixels tall, but if she stands far from the camera her face is still tiny. In my small test photo her face was 27 pixels wide.
The tip: use a big photo of your model with her face close to the camera.
2. A Face Reference
If you don't have a model photo, the Agent can make one from text. Those faces look good, but they tend to come out smooth and catalog pretty.
A face is hard to describe in words. No two faces have the same eyes, freckles or skin. Words can't hold all of that, so the AI fills in the rest with a polished face. A face reference gives it every detail at once.
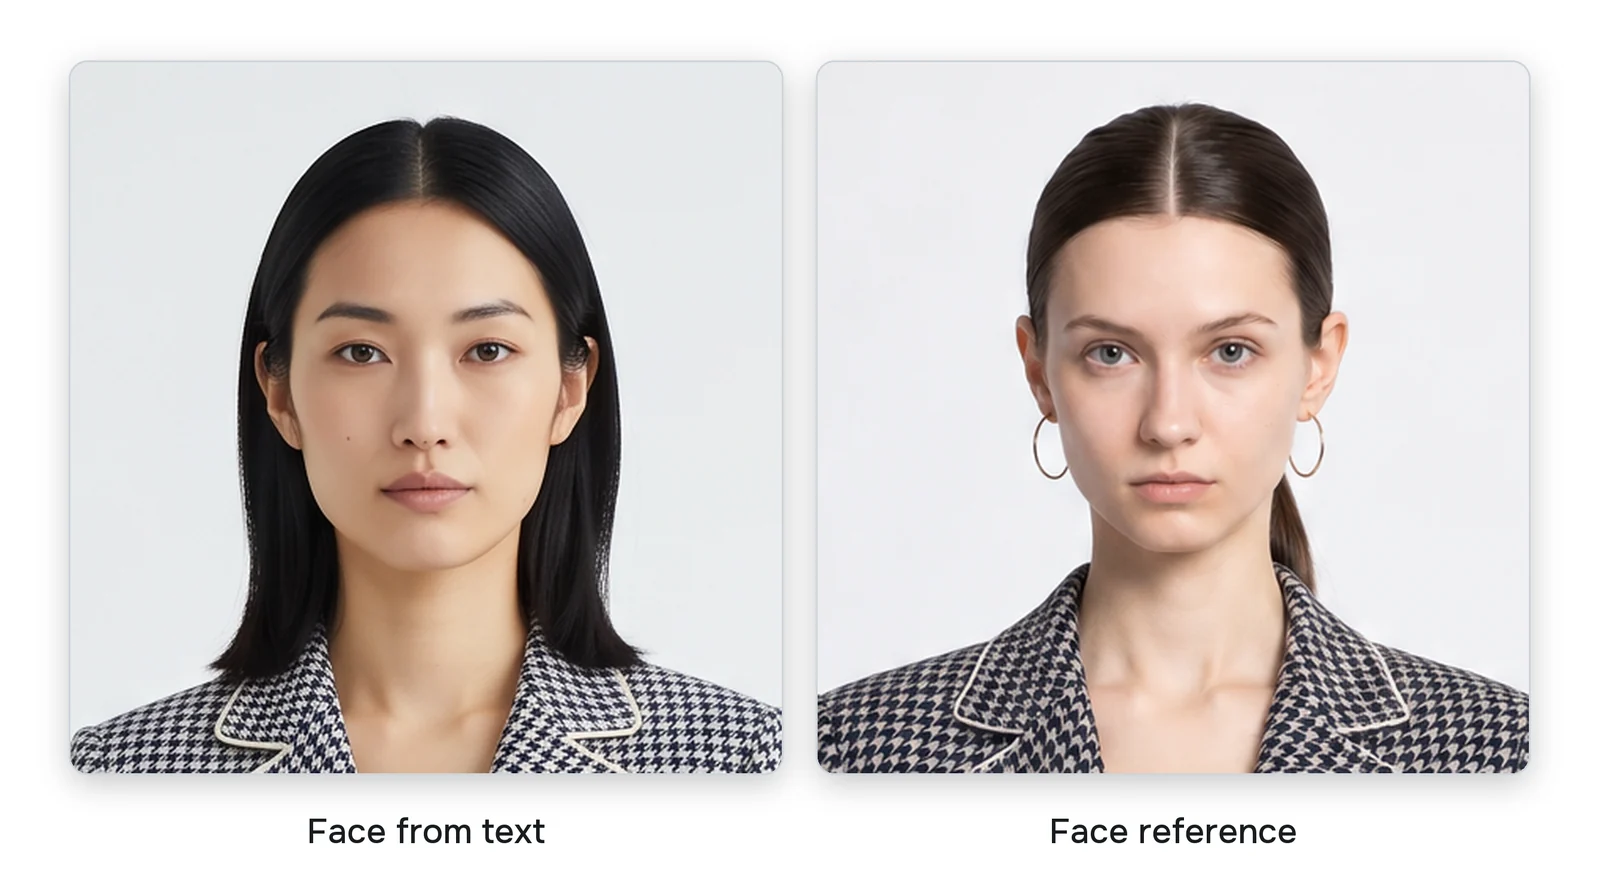
The tip: start with a face reference from the Elements library or your own photos.
3. Settings, Not Magic Words
A lot of people add magic words to their message, like 4K, ultra realistic or shot on ARRI Alexa. I used to do this too.
So I tested the same message with and without them. I couldn't see a difference. The Agent already writes a detailed prompt for you, so the extra words don't add much.
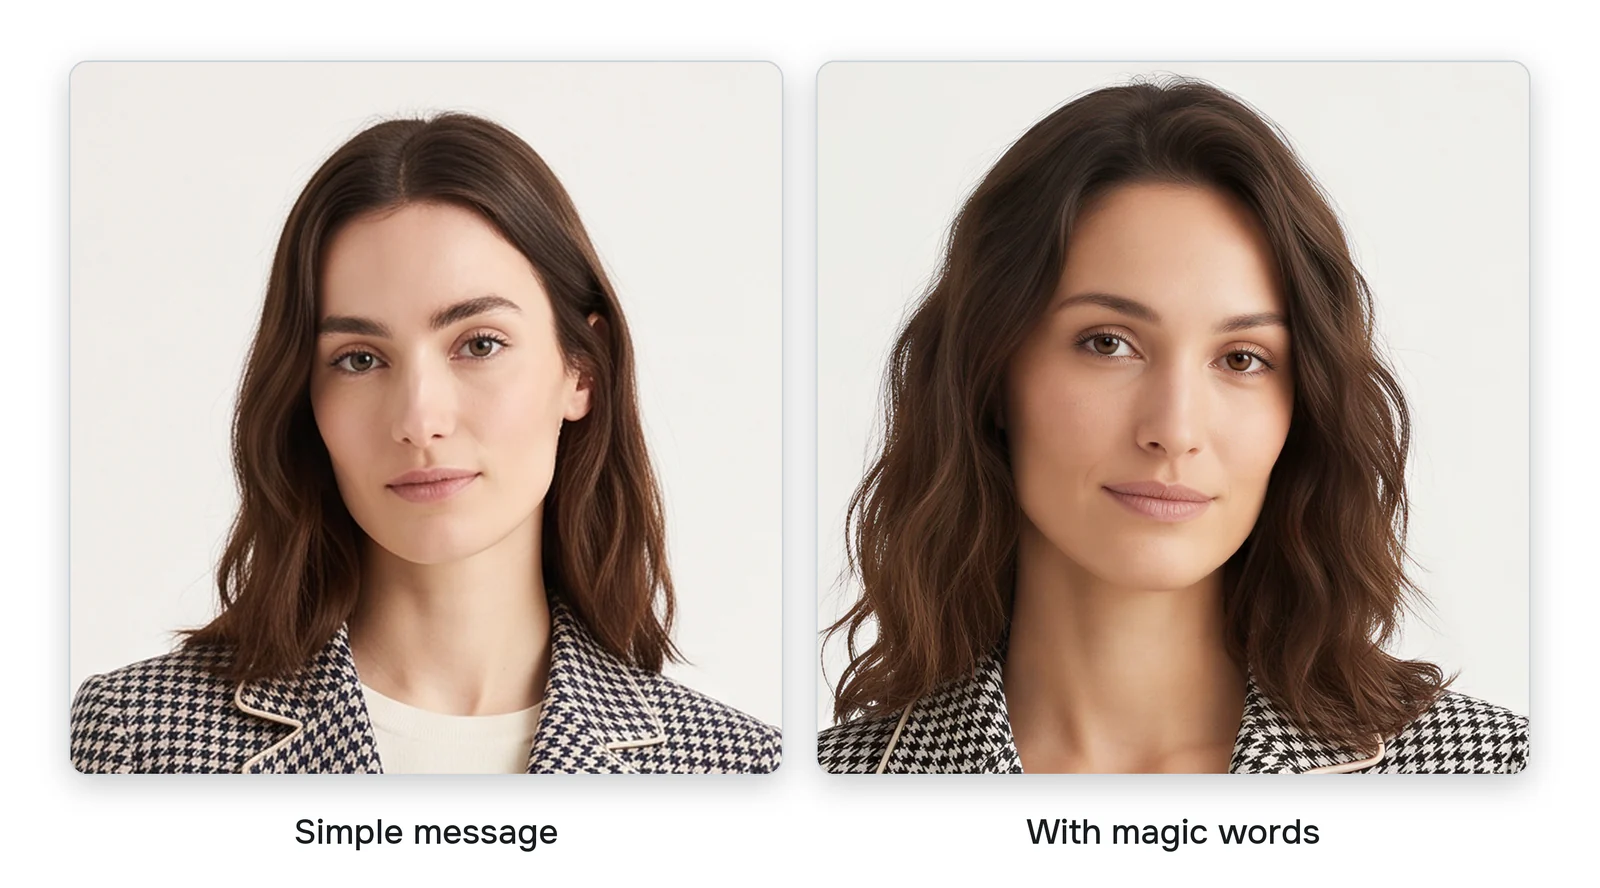
The words did change one thing. The Agent read 4K as a request and switched to 4K, even though my settings said 2K. That can cost you more credits.
A camera name doesn't make a photo good. The light and the model do. So describe what you want to see and leave the camera out of it.
The tip: keep your message simple. Set resolution and generation mode in the settings panel.
4. Let the Agent Handle Your Edits
When I edit in other AI tools, each new edit starts from the last picture. The quality drops a little each time, like a photocopy of a photocopy.
The Agent works differently. When you make edits one after another, it goes back to the original and cleans up the picture on its own. So each edit stays close to your original.
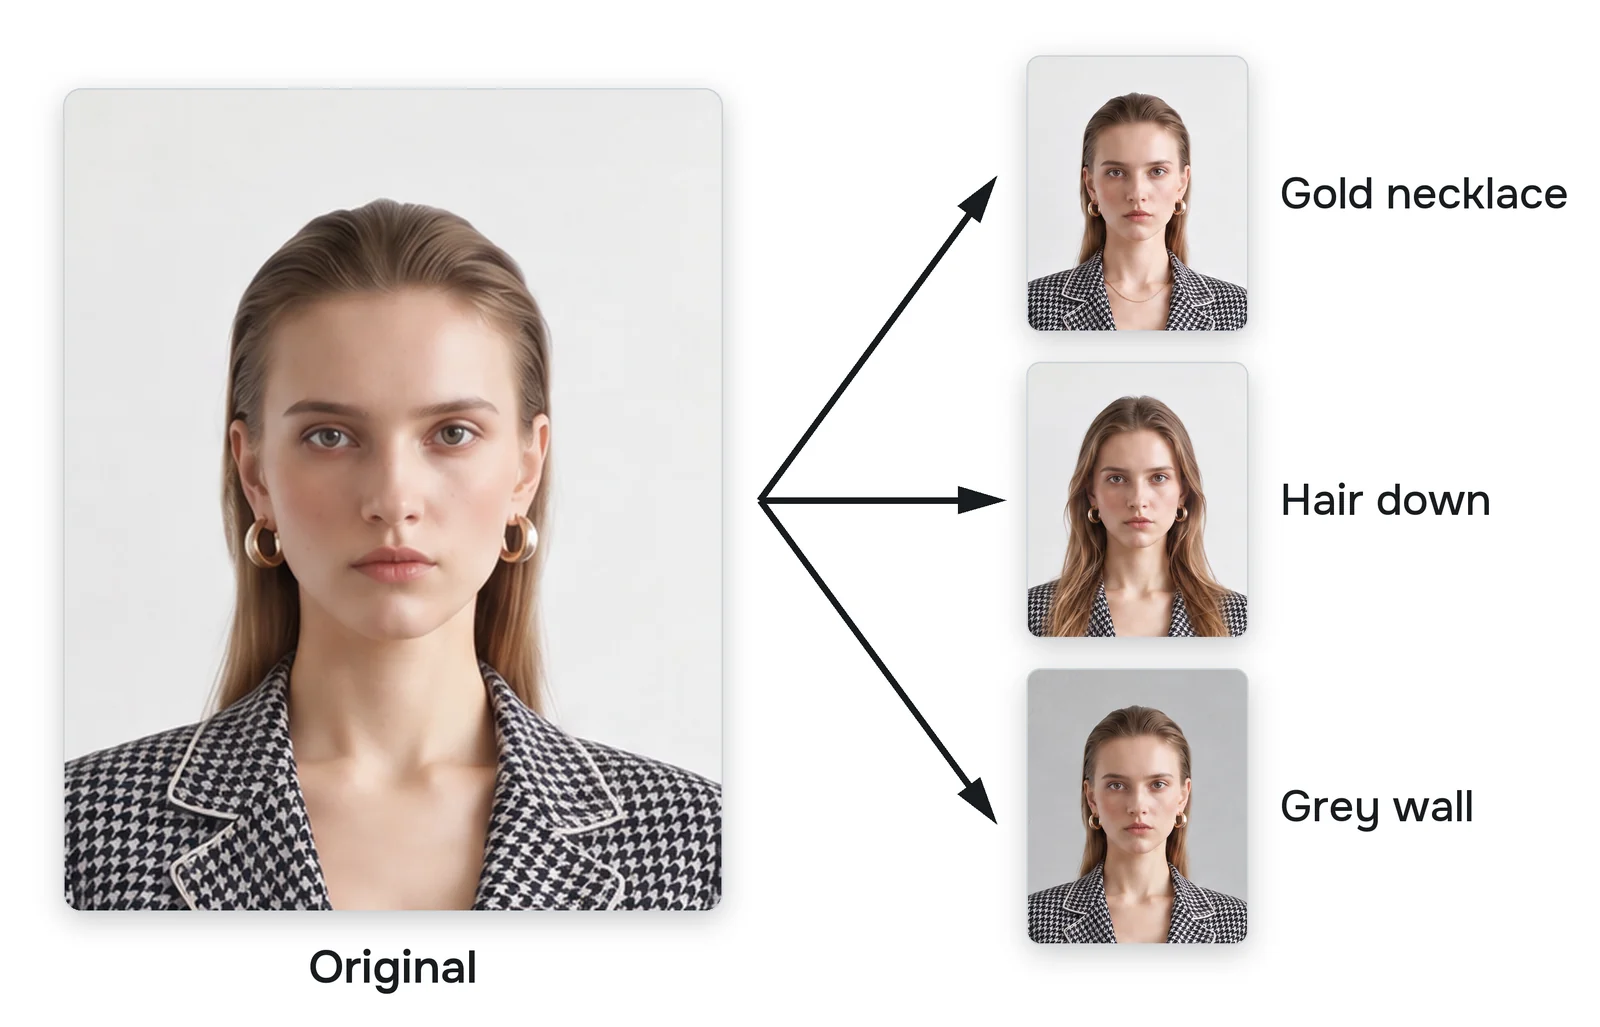
The tip: just type your next edit. Use the reference button (@) only for older results.
The Short Version
| Tip | Why |
|---|---|
| Use your biggest, sharpest product photo | A small one can come back as a different product |
| Use a big model photo with the face close | A small face comes back soft and changed |
| Start with a face reference | Faces from text come out smooth |
| Keep your message simple and use the settings panel | Magic words can cost credits without adding quality |
| Just type your next edit | The Agent goes back to the original for you |
Where to Start
The step by step is in the help center guide Create High Quality Images. If a photo already came out wrong, Preserve and Repair Image Quality has a fix for each problem.
Try FASHN free. If you have questions, leave a comment on the video. I read every one.
About the Author
Tony Assi is the Creative Engineer at FASHN. Before FASHN he spent years in content and marketing for fashion brands. He holds an MFA in Digital Art and New Media, where his thesis was on fashion and AI.

Written by
Tony Assi